Save the Bank Gift Idea

Free word art for every occasion

Mothers day has just been and the next occasion I have coming up is my siblings birthdays in april. Sometimes the need to spend money on gifts and going out to celebrate occasions can feel never ending especially when your on a tight budget. So instead of breaking the bank I am going to create home-made presents for the next few occasions. Hopefully more if I have any success. I want to create something unique without having to spend hours working on it. Im all for gifts from the heart which you have spent time and effort making however with three separate birthdays in the next two weeks and very little time to make anything due to working twelve hour shifts I need something simple.

Looking at gift ideas on Facebook swap sites and google I found this website where you can buy personalised word art for any occasion :https://www.facebook.com/Wordartforyou

I really liked the concept but didn’t want to spend £13 buying something I could probably make myself. So I googled it.

The first helpful website I found belonged to another blogger Maggie.  http://blog.thelovenerds.com/2013/09/free-shaped-word-art.html Her website provided instructions on how to make your own word art using a free online engine called Tagxedo. http://www.tagxedo.com/app.html

I decided to give it a go. First I headed over to the website.

5

Then I clicked on create. Next I had to install silverlight as I am now working on a new (second-hand) laptop.

This took me to the creation engine

4

Next you need to click load. On the left hand side.Then you can either type in the words you want to use, upload a file from your desktop (perhaps of your favourite poetry) or choose a web address.

3

For my first trial I chose to use a web address. In fact I chose the address for my blog.

Then I hit submit and waited.

Once you have chosen your text you can change the shape.

2

I decided to try a dinosaur as they are awesome.

din 1

If you then want to change the colour of your creation use the theme arrow down the left hand side.

If you want to change which words are which colour then clock thee circular arrow next to colour.

If you want to change your text font then you can either select the circular arrow next to font for a random selection or use the arrow to pick a specific option.

The software is nice and easy and best of all free to use. Have a play around until you find something you are happy with.

“Orientation” : allows you to choose the direction that you would like your words to face.

“Layout” shifts the words around

When your done click on the save/share button to either print or save the image to your computer.

Good luck                                            dino blog

Fungus Foraging or A day outside in the fresh if damp air.

English: fungus

English: fungus (Photo credit: Wikipedia)

Fungus Foraging or A day outside in the fresh if damp air.

Last week I got invited to attend a fungus foraging course at my local woods. I was very excited by the prospect and after a bit of organising managed to get a lift to the start point.

It was a wet day but the tree’s afforded plenty of shelter from the rain. I was surprised and delighted by the turn out. There must have been 40 of us who had dug out wellies and braved the weather to explore the outdoors.  Other than me there were plenty of families many with children. It was fantastic to see how excited the kids were at the concept of searching for and identifying something so basic and often overlooked.

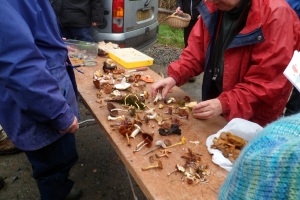
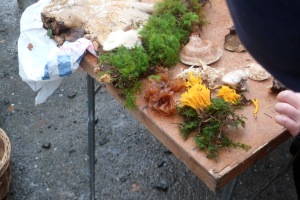
We searched for about an hour covering only a small area. Then retreated to the car park to display our finds on a trestle table and ask the expert questions about our finds.

Personally I was surprised by the vast variety of fungi we found in such a small part of the woods.

I had a very enjoyable day and would go to other events at the forest in future.

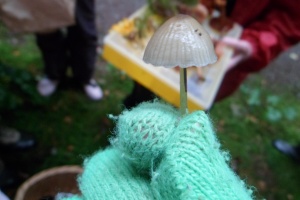
foraging and recipes 025 foraging and recipes 030 foraging and recipes 033 foraging and recipes 040 foraging and recipes 039 foraging and recipes 041

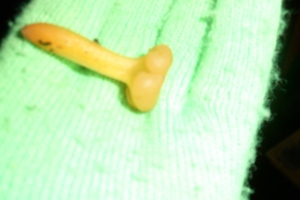
Jelly bean mushroom

jelly bean mushroom jelly bean mushroom

Jelly bean mushroom

foraging and recipes 052 foraging and recipes 053 foraging and recipes 054 foraging and recipes 055

Bonfire alternatives

Happy bonfire night. the 5th of November is celebrated every year in recognition of Guy Fawkes’ thwarted attempt to blow up parliament.

The weather as usual is cold and the nights are getting darker perfect for firework celebrations.

This year we  decided to use an alternative to sparklers as not everyone is comfortable with close range fireworks.

our alternative : glow in the dark bubbles.

we mixed bubble mix and the contents of a glow stick in a bubble  wand for supper awesome fun.

very easy to make why not have a go.

Sunset November 5, 2006

Sunset November 5, 2006 (Photo credit: Whipper_snapper)

(pictures to follow)

Apple Day

Left: sweet cider. Right: apple juice.

Left: sweet cider. Right: apple juice. (Photo credit: Wikipedia)

Today was apple day in the town where I live. As well as an assortment of stalls selling fair trade good there was also a traditional apple press.

Me and a friend collected two bags of apples and decided to have a go at making our own apple juice. Our two bags of windfalls made 1 and ½ bottles of apple juice (or about three litres). We are going to drink the half bottle this week and use the full bottle to make cider.

First we washed the apples.

Then we chopped them into quarters.

Next the apples were fed through a scratter in order to pulp them. Essentially this is a mincer.

Once the apples are pulped they are then put into a muslin bag which is put inside the press and squeezed. Our press had small enough holes that the apple couldn’t escape therefore the muslin bag was not needed.

Juice is transferred from the press via a tube and then collected in bottles and ready to drink or use as desired. We collected ours in a glass jar and then transferred it to plastic bottles due to the lack of stability plastic provides.

It was a sunny day and lots of fun. I learnt several new things.

We decided to use our full bottle of juice to make cider so we will be buying a bung and air stopper to attach to the bottle. This will allow gas to escape from the bottle without allowing air in.

I will let you know how the next process goes asap.

Other fun articles

Confessions of an English apple scrumper

Friday Foraging Fun (well almost)

Today we went foraging. It was a delightful sunny day and we had finished our chores so we decided to take advantage of the weather and head outdoors. We wanted to go foraging as September is a prime time for free foods. The main aim was to collect as many dandelions as possible to make a batch of dandelion liquor that would be ready for Christmas.Yarn anf foraging 005

As the weather was so nice it was just lovely to be outside and we weren’t expecting to find much.

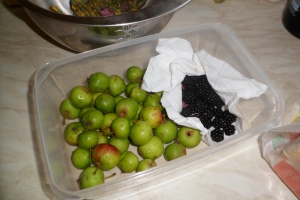
We were pleasantly surprised. We enjoyed a good few hours in the open air and returned with dandelions (heads and leaves), clovers (the flowers are amazing and very sweet), crab apples, blackcurrants and mushrooms (which we decided to compost instead of eating to be on the safe side).Yarn anf foraging 007

Yarn anf foraging 010

Overall it was an invigorating experience that made us feel like children hunting for hidden treasure.Yarn anf foraging 008

This afternoon was spent making the base for the dandelion liquor with honey and lemon juice. As well as cleaning our prizes ready for use tomorrow.

We have found a few recipes for crab apple jelly and lemon aid that we want to test although this may involve a second trip at some point to collect more fruit now we know where it can be found. The site I will be using for my base recipes is :http://www.sallywise.com.au/blog/crabapples-the-not-so-humble-fruit/

I still have some leftover apples that I picked whilst at home and the blackcurrants picked today which will be cooked into either a preserve or a desert.

If you have any suggestions for things to do with foraged ingredients or want to share your own experiences please leave a comment.


I hope you are enjoying a pleasant September and reaping the benefits of what is available locally.

I hope you will come back again.

Kombucha continued

English: Mature Kombucha

English: Mature Kombucha (Photo credit: Wikipedia)


Hey again,

Last post I outlined the basics of Kombucha.  This time I am going to investigate  how to flavour the finished product.


Here is a video outlining the basics of how to start your own culture:

http://www.youtube.com/watch?v=Z58FzJdliRE&feature=share&list=PLWzMfwDxBs_m9uVcO74d6KeRm8-eN6sGz

Once you have made your own Kombucha and got the hang of making plain batches you might want to have a go at flavouring.

Flavouring is done after the first fermentation. Once you have a batch of plain Kombucha you are happy with you can decant some of it into a separate Glass container (don’t forget to set aside some of your kombucha mix to start your next plain batch)  and then begin to experiment by adding the flavours of your choice. Bear in mind that Kombucha is a living substance so do not use chemicals to flavour it. Instead why not try adding fruit or fruit juice.

Once you have added the ingredients you are using to flavour the Kombucha then you have to re-cover it (still allowing it to breath) and leave it to re-ferment in a warmish (room temperature) place out of direct sunlight. After 5 to 14 days it will be ready to drink depending on your personal taste. Don’t forget to leave a comment on your own mixtures as it is always nice to find new flavours.

There is a fantastic video available on how to flavour Kombucha available here:

Homemade gift kombucha starter

This is my first full day back in sunny Yorkshire since Easter.  I spent the day unproductively enjoying the sunshine that has been reluctant in its appearance. This post is dedicated to my sister whose birthday is next week. She has just moved flat and I wanted to get her something nice but personal. For this reason I decided to make a gift this year rather than buying one. She is very supportive and often offers me both ideas and encouragement for my blog. After careful consideration I decided to gift her with a kombucha starter kit.
I researched what kombucha is in an earlier post along with instructions for starting your own.

Kombucha – homemade mushroom tea

Kombucha

Kombucha (Photo credit: Wikipedia)

Here is what I learnt about basic Kombucha care:

Kombucha type of drink made using a micro-culture which is sometimes refered to as a mushroom or scoby. The mushroom is used to fement a mixture of black tea and sugar in order to produce a cold tea that can (depending on care) taste like anything between vinegar and champagne (although its usual taste is similar to cider).

You have to keep your kombucha mix in a glass jar out of direct sunlight. The lid should be removed in order to let air in but covered (I find kitchen roll and a rubber band work well) in order to stop dust and flies.

The scoby should not be allowed to come into contact with metal as this will kill it.

There are two ways to make kombucha either a batch at a time or in a running (continuous batch). For the batch at a time method you transfer some of the last batch of ready kombucha and the scoby to a clean glass jar and then add the cooled black tea and sugar mix. For the continuous batch every time you take out some of the liquid from the kombucha mix you replace it with more cooled black tea and sugar mix. For the second method it has been suggested that you add slightly more sugar than in the initial batch as the pre-existing mix as well as the new tea feeds off the sugar.

Plain kombucha takes 10 to 14 days from adding the sugar black tea mix before it is ready to drink.

The ready kombucha can be flavoured by decanting into another glass jar, without the scoby and the kombucha needed to start the next batch (or continue brewing), adding your flavouring of choice and leaving it a few days to take on the flavour.

I hope this explains the basics for those of you who are interested. I hope to do a post in the future about the different recipes which include kombucha.

Best wishes

Rachael

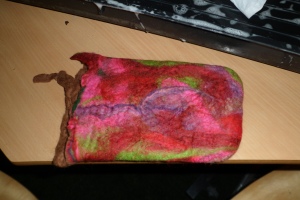
Felting a bag.

This week i went to a free felting workshop. all the materials were provided and it has given me a few ideas for what to do with my own wool.

Here is an explanation of what i did in pictures


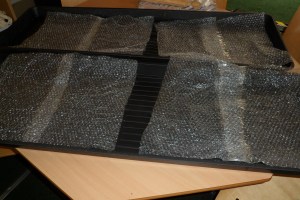
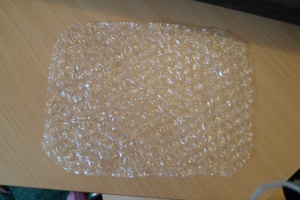
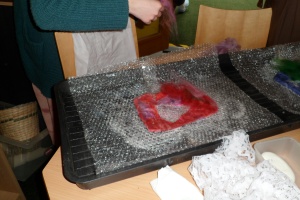
Base layer of bubble wrap in tray

Base layer of bubble wrap in tray

Template for felting in tray

Template for felting in tray

Template for felting

Template for felting

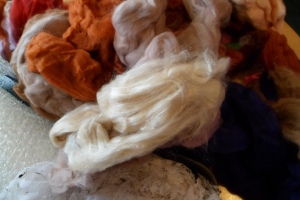
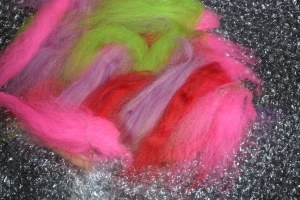
A selection of wool

A selection of wool

A selection of wool

A selection of wool

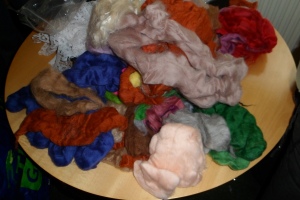
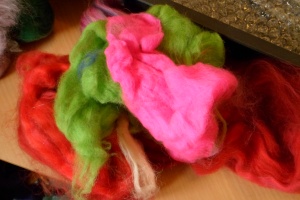
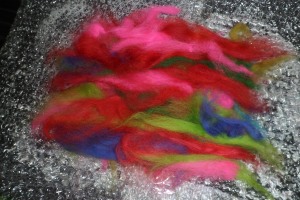
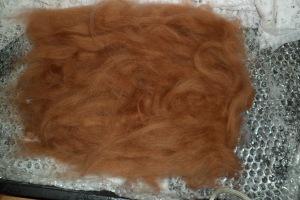
My selection of wool

My selection of wool

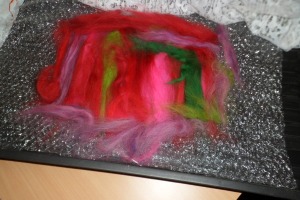
The first layer would form the outside of the bag

The first layer would form the outside of the bag

I had to keep the wool wispy and make sure there were no gaps

I had to keep the wool wispy and make sure there were no gaps

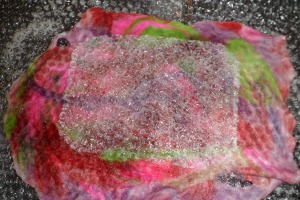
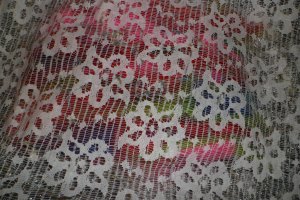
Then I put a layer of lace over the wool to hold it in place.

Then I put a layer of lace over the wool to hold it in place.

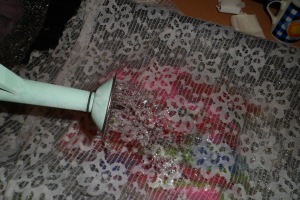
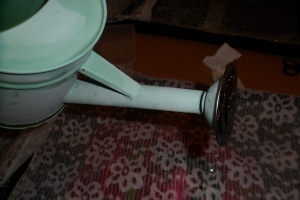
I used a watering can to sprinkle water onto the wool.

I used a watering can to sprinkle water onto the wool.

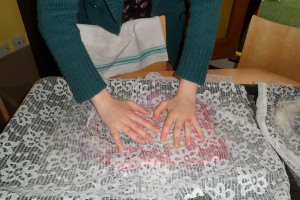
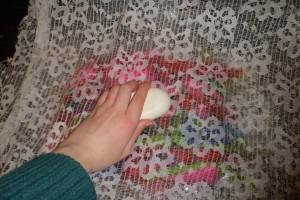
Then presses it down to ensure it was wet.

Then presses it down to ensure it was wet.

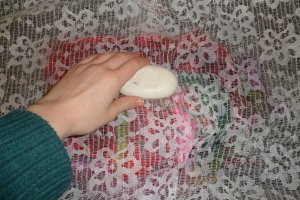
Next i rubbed soap into the wool.

Next i rubbed soap into the wool.

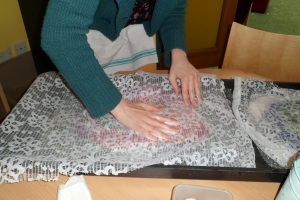
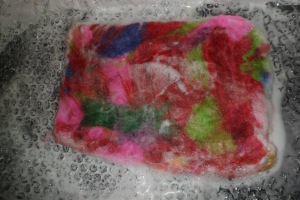
After this I massaged the wool to felt all the strands together

After this I massaged the wool to felt all the strands together

I removed the lace curtain to prevent it felting to the wool. Then relayered it and continued massaging.

I removed the lace curtain to prevent it felting to the wool. Then relayered it and continued massaging.

I Flipped my felt using a spare sheet of bubble wrap.

I Flipped my felt using a spare sheet of bubble wrap.

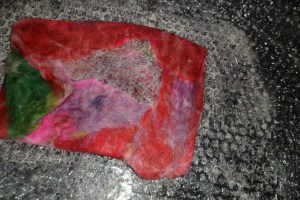
I folded the corners neatly over the template.

I folded the corners neatly over the template.

Massaged them together.
Massaged them together.
then layered more wool over the template. This would also be an outside layer.
then layered more wool over the template. This would also be an outside layer.

I repeated the same process as before. covering the wool with a sheet of lace.

I repeated the same process as before. covering the wool with a sheet of lace.

sprinkling with water.

sprinkling with water.

massaging the soap and water into the wool.

massaging the soap and water into the wool.

Flipping the felt and turning the edges in again.

Flipping the felt and turning the edges in again.

layering more wool. this will form the inside of the bag. massaging it. then repeating the process on the final side.

layering more wool. this will form the inside of the bag. massaging it. then repeating the process on the final side.

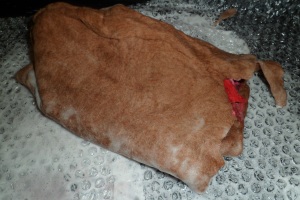
cutting along the top edge and removing the bubble wrap template from the bag.

cutting along the top edge and removing the bubble wrap template from the bag.

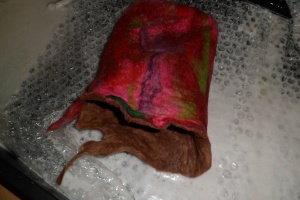
messaging the felt bag then turning it the right way out and continuing to massage it with one hand inside and one out.

messaging the felt bag then turning it the right way out and continuing to massage it with one hand inside and one out.

squeeze out excess water to shrink the felt.

squeeze out excess water to shrink the felt.

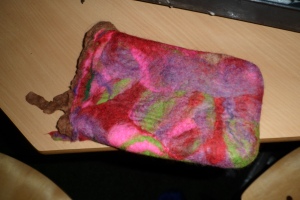
when a suitable size leave to dry naturally.

when a suitable size leave to dry naturally.Fe

Making felt from scratch aka what to do with raw unprocessed wool

I went for my walk this week to visit my friend with my emergency rice-pudding cake. On the way my other friend and I decided to collect the wool which we kept discovering caught on thistles and hedges. This was a successful venture and we collected far more raw wool than we initially expected.

I decided that this was my opportunity to card and comb my own wool, dye it and then make my own felt from scratch.

Feeling ambitious I did some research and decided on the steps I was going to take.

1)      I knew I needed to clean the wool first.  This would involve washing and removing any stray pieces of straw or thistle that had got into the wool. I got advice from this website on the best way to wash wool before combing.

http://www.newenglandsimpleliving.com/processingwoolfibersbyhand.htm

2)      Combing I needed to comb or card the wool after washing in order to prepare it for felting.

The steps of cleaning the wool:  I placed the wool in my clean crafting bucket along with warm (not boiling) water.  I had also dissolved the remainder of a bar of gentle strawberry soap in the water before adding the wool.   Then I left this overnight to soak.

I changed the water that was filthy 3 times before splitting the wool into four smaller batches. These batches were soaked again until the water was clear.

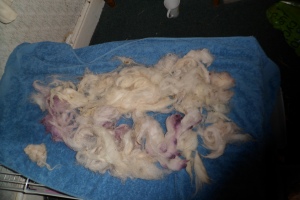
Once the water was clear excess water was gently squeezed from the wool. The wool was then laid -out on a towel to dry.

After the wool had partially dried I began to tease it (pull it apart) to prevent unwanted felting.

Bag of raw wool

Bag of raw wool

Raw wool in bucket before adding water

Raw wool in bucket before adding water

wool in bucket first soak

wool in bucket first soak

The last batch to soak

The last batch to soak

a batch of clean wool in tea towel

a batch of clean wool in tea towel

Clean wet wool in tea towel ready to squeeze some of the water out

Clean wet wool in tea towel ready to squeeze some of the water out

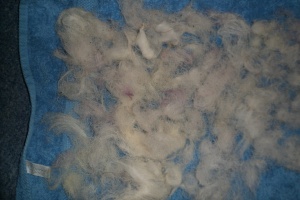
some of the clean wool drying on a towel

some of the clean wool drying on a towel

Damp wool teased out left to dry on towel

Damp wool teased out left to dry on towel


Other useful sites

http://knitsnthings.wordpress.com/2009/05/11/combing-wool/

http://sweetleafnotes.blogspot.co.uk/2009/01/washing-wool-fresh-off-sheep.html

http://www.ranching-with-sheep.com/wool-processing.html

http://members.peak.org/~spark/PDF_files/Preparing%20Wool%20for%20Spinning%20or%20Felting.pdf

Legal free music

Copyright Symbols

Copyright Symbols (Photo credit: MikeBlogs)

This post relates back to my earlier article about free resources. Once something is out of copyright it is free to legally download and use as you will. In this post I concentrate on free music resources.

Of course if you are happy to listen to music online there is always YouTube and Grooveshark. However when you want music to add as a background to your own videos or would like something to download for free there are alternative choices. Here I research the possible choices for free music without infringing on copyright.

The first website I found on searching Google for free out of copyright music was http://www.openmusicarchive.org/ this is run by volunteers and anyone can use the music for their own purposes. There are some beautiful pieces on the site which you can download.

The second site : http://freemusicarchive.org/ is fantastic. It allows you to build your own playlists. Not all music is out of copyright. However it is in the creative commons, therefore is free to download and use for projects.  It is a well-built site easier to search than the first it gives you easy access to information about the artist and suggests similar songs that you might like. You can also download or save your playlists. There is easy access with the possibility of login via Facebook or Twitter for those who don’t want to fill in loads of forms. I love some of the free songs such as http://freemusicarchive.org/player?subscriber=FMAPagePlayer_1370184796548 which allow you to try out new artists and then donate or buy their album if you enjoy their work. Artist appreciation is an important part of keeping legal music free. Even if that’s just sharing with a friend.

The third and final site http://www.purple-planet.com/#/blog/4554649020/Copyright-Free-Music/849911. Of course there are more sites out there but this is just an example of how easy it is to legally get hold of music to use in your own non-commercial projects. This site lists some of the ways you can tell if it is legal to use music online.  It is free to use (as are the above two). It has fewer songs than the other two sites. Yet it is categorised into themes. You can try before downloading and there is a simple as well as more complex version of the same theme for different uses.

I hope you enjoyed this brief introduction into the world of free online music and give it a go for yourself. It is truly amazing the amount of free resources out there. It’s just a case of exploring, undertaking your own adventure and learning. Double check your source as although the music itself may be out of copyright. Depending when the version you are using was produced the artists or musicians may still be under copyright. Also like with the second website on my list, many artists offer their music without copyright for use on non-commercial projects and for personal use.

Have fun and enjoy. Don’t forget to share your own experience of free resources.

Best wishes

Rachael